I have decided the best way to update this page is to write about the questions you have. So please, after you read it if there is something else you would like me to add use the form at the bottom. Thanks!
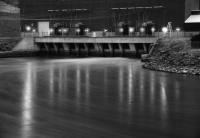 Looking though my search logs, it would seem that I receive a good amount of interest in my low light and moonlight photography shots. Since many of you may be not only interested in low-light photography but also in how to take them, I thought I would write down a few pointers for those that are interested. Remember this is not a tutorial on night shooting, rather some tips that I have learned from doing it myself.
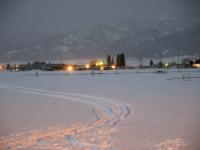 First off, low light does not mean pitch black! Although no natural light can give you some pretty cool shots of moving lights, the results are usually not what you would expect. Some of the best low light shots are shots taken when the ambient light is about the same magnitude as artificial light.
When taking night photography, it is important to remember to use the low light to your advantage. On a night with a full moon, avoid taking something that would be an ordinary photograph had it been taken in the day. Chances are, it will still be ordinary. Instead, take something that would be a great shot during the day and make it even better–make it something it could not be during the day.
One of the best things to help you with night shooting is knowing how to master exposures during the day. If you do not know how aperture, shutter speed, and ISO all relate to each other then I would suggest trying to master those concepts first before doing low light photography. The same principals that apply during the day also apply during the night. Don’t forget the most important thing though–use a tripod and do not rely on your camera’s light sensor alone! Learn how to read it and how to make the necessary adjustments, and a tripod will be necessary for taking longer then normal exposures.
One of the hardest things I have found when doing low light photography is focusing. The lower the light the harder it will be to focus. It is good to have a lens that tells you the focusing distance. For example, on my lens I know to set anything over thirty feet to infinity. If something is less then that I either use a flash light or the number on my lens.
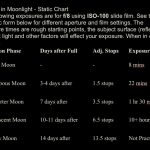 The #1 thing that any good photographer can do is practice. The more you shoot in low light the more you will know how to set your camera and the better you will become. Below is included a list camera settings and moon phases, which you can use as a starting point if you so desire.
Note: I know I have left out a great amount of detail on the exact camera settings, etc., but this is not meant to tell you exactly how to do it, it is merely some tips and pointers from someone who is learning it as well.
Click here for the moonlight photography I took last fall.
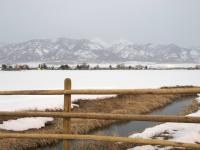
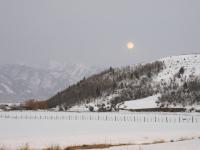
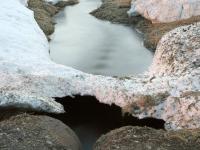
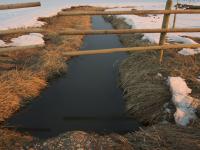
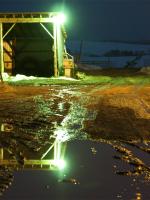
Below are some photos I took tonight for low light demonstrations. The moon was coming up and full, but it was too clowdy to take good advantage of it. As you can see, there was still quite a bit of snow for April 19th.
Leave a Reply